 續談爬蟲
續談爬蟲
前言
接下來這一篇也是針對爬蟲來介紹,但是會去撈一些比較複雜的資料。
又是爬蟲
前一篇我們針對我的部落格去做示範,底下是前一篇的示範程式碼
1
2
3
4
5
6
7
8
9
10
11
12
13
14
15
16
17
18
19
20
21
22
23
24
25
26
27
28
29
30
31
32
33
34
35
36
|
const fs = require('fs');
const cheerio = require('cheerio');
const getData = async (url) => {
try {
const response = await fetch(url);
const data = await response.text();
return data;
} catch (error) {
console.log(error);
}
}
const crawler = async () => {
const html = await getData('https://israynotarray.com/');
const $ = cheerio.load(html);
const postTitleLink = $('.post-title-link');
const data = [];
postTitleLink.each((index, element) => {
const title = $(element).text();
const url = $(element).attr('href');
data.push({
title,
url,
});
});
fs.writeFileSync('./data.json', JSON.stringify(data));
}
crawler();
|
算是初步簡單的爬蟲,但是如果我們今天想要爬點不一樣的資料呢?
 不一樣的資料
前面有提到,爬蟲的原理就是去取得 HTML 資料後,再透過解析 HTML 的方式去取得我們想要的資料,最後再儲存成我們想要的格式,而這份資料就可以有很大的用途,例如說我們可以透過這份資料去做資料分析、資料視覺化等等。
其中,我認為滿適合做為示範的就是…
「IT 邦幫忙的鐵人賽文章」
疑?為什麼是鐵人賽文章呢?其實鐵人賽一直都沒有提供閱讀排行的功能,而這次我們就可以來試著實作看看。
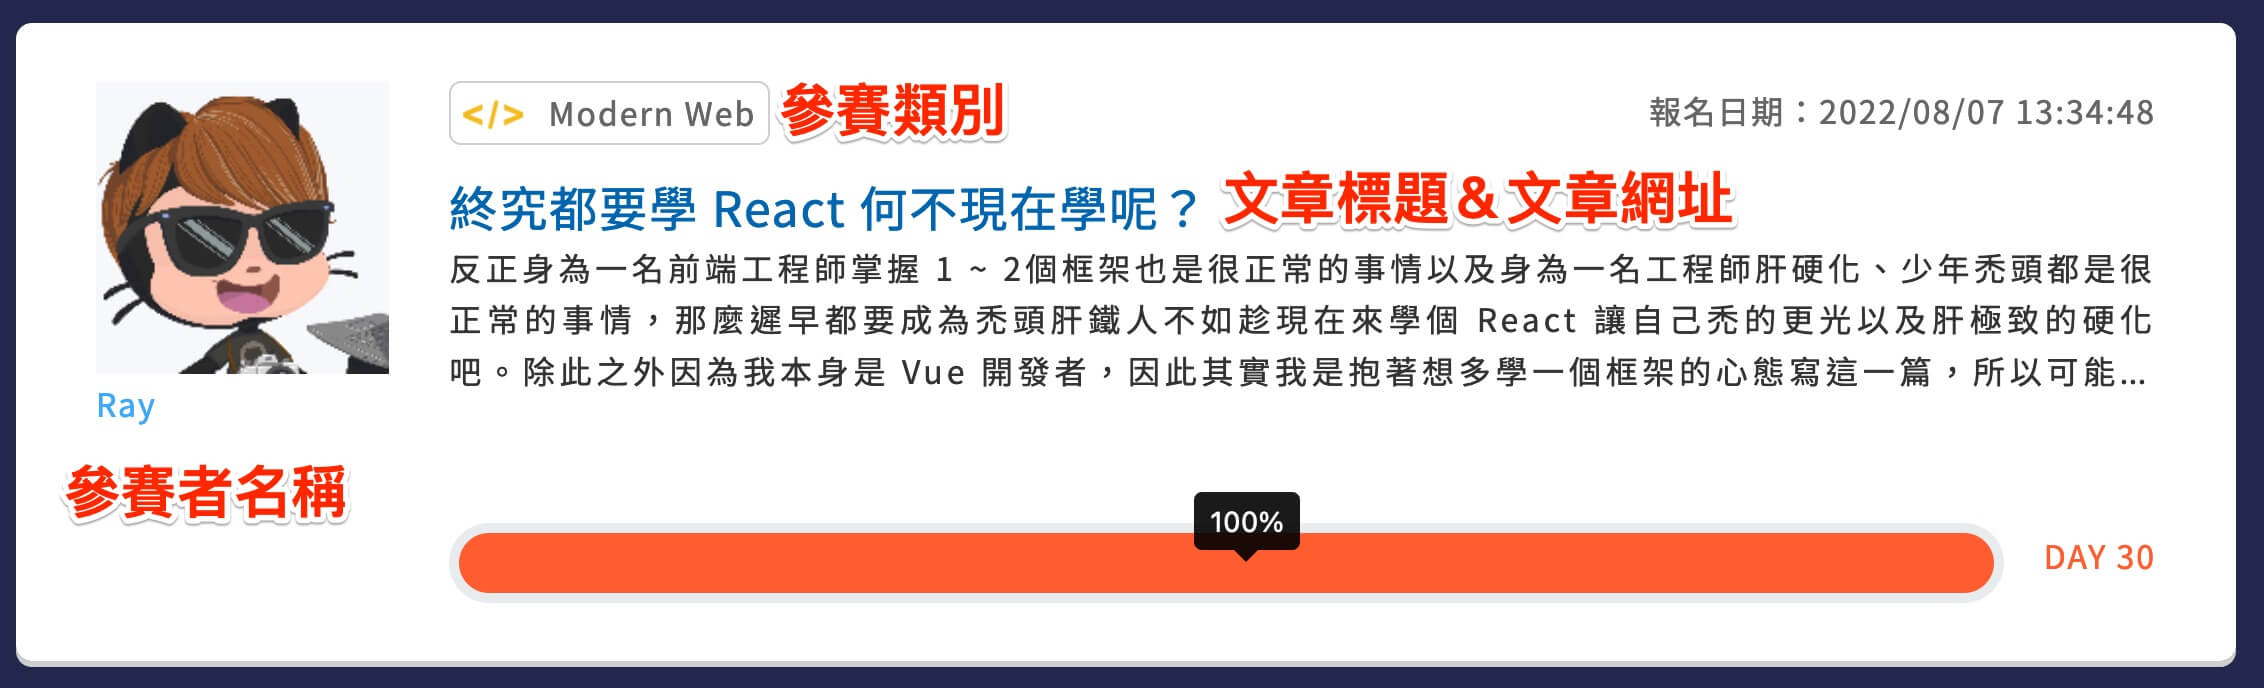
爬蟲前的準備
在準備開始爬蟲之前,我們要先擬定一下我們的需求
- 參賽者名稱
- 參賽類別
- 文章標題
- 文章網址
- 瀏覽人數
- Like 人數
- 留言人數
我們大概要這五個資料,然後資料來源呢?當然就是2022 鐵人賽參賽者列表啦!
Note
為什麼是 2022 鐵人賽?因為 2023 鐵人賽還沒結束,所以這邊就以 2022 鐵人賽為例,但整體觀念是一樣的。
接下來沒問題後就是來建立專案囉!
1
2
3
4
5
| mkdir example-ithelp-crawler
cd example-ithelp-crawler
npm init -y
npm i cheerio
touch index.js
|
(別忘了替 package.json 加上啟動指令。)
接下來當然就是要開始…
 插嘴
插嘴
你別急,還記得前一篇我提過的四個東西嗎?
第一步驟當然是要先分析來源,不然你怎麼知道要抓什麼呢?所以這邊請你先用瀏覽器打開 2022 鐵人賽參賽者列表 頁面,接著我們可以看到滿滿的參賽者資訊這個頁面我們可以取得以下資訊
 資訊
資訊
接下來的資訊呢?我們可以點文章網址進入,就可以看到文章的資訊,這邊我們可以取得以下資訊
 資訊
資訊
所以我們可以確定,我們的資料都可以從這幾個頁面取得,接下來就是要開始撰寫程式碼囉!
爬蟲開始
一開始很簡單,我們要先取得參賽者列表,這邊程式碼如下:
1
2
3
4
5
6
7
8
9
10
11
12
13
14
15
16
17
18
19
20
|
const fs = require('fs');
const cheerio = require('cheerio');
const getData = async (url) => {
try {
const response = await fetch(url);
const data = await response.text();
return data;
} catch (error) {
console.log(error);
}
}
const crawler = async () => {
const html = await getData('https://ithelp.ithome.com.tw/2022ironman/signup/list');
console.log(html);
}
crawler();
|
基本上執行後,你會得到以下結果:
(由於內容較多,我只截取重點部分)
1
2
3
4
5
6
7
8
9
10
11
12
13
14
15
16
17
18
19
20
21
22
23
24
25
26
27
28
29
30
31
32
33
34
35
36
37
38
39
40
41
42
43
44
45
46
47
48
49
50
51
52
53
54
55
|
<div class="list-card">
</div>
<div class="list-card">
<div class="row">
<div class="col-md-2">
<a href="https://ithelp.ithome.com.tw/users/20119486/ironman" class="contestants-list__person">
<div class="user-avatar contestants-list__avatar">
<img src="https://member.ithome.com.tw/avatars/140252?s=ithelp" class="w-100">
</div>
<div class="contestants-list__name">Ray</div>
</a>
</div>
<div class="col-md-10">
<div class="d-sm-flex flex-sm-row justify-content-between mb-3">
<div class="tag">
<img src="https://ithelp.ithome.com.tw/static/2022ironman/img/topic/web.png" class="tag-img" alt="">
<span>Modern Web</span>
</div>
<div class="contestants-list__date date">報名日期:2022/08/07 13:34:48</div>
</div>
<a href="https://ithelp.ithome.com.tw/users/20119486/ironman/5111" class="contestants-list__title title">終究都要學
React 何不現在學呢?</a>
<p class="contestants-list__desc content">反正身為一名前端工程師掌握 1 ~
2個框架也是很正常的事情以及身為一名工程師肝硬化、少年禿頭都是很正常的事情,那麼遲早都要成為禿頭肝鐵人不如趁現在來學個 React 讓自己禿的更光以及肝極致的硬化吧。
除此之外因為我本身是 Vue 開發者,因此其實我是抱著想多學一個框架的心態寫這一篇,所以可能會出現一些 Vue 跟 React 兩者語法上的差異比較,主要也是希望讓 Vue
開發者可以更好上手,接著就不廢話了,就讓我們準備開始學吧!</p>
<br>
<div class="team-dashboard__box d-flex align-items-center justify-content-between team-progress--success">
<div class="team-dashboard__progress flex-grow-1">
<div class="progress">
<div class="progress-bar" role="progressbar" aria-valuenow="100" aria-valuemin="0" aria-valuemax="100"
style="width: 100%;">
<span class="progress-num" data-toggle="tooltip" data-placement="top" title="" data-original-title="100%"
aria-describedby="tooltip779036"></span>
</div>
</div>
</div>
<label class="note team-dashboard__day">
DAY 30
</label>
</div>
</div>
</div>
</div>
<div class="list-card">
</div>
<div class="list-card">
</div>
|
基本上你會發現參賽資料結構都是放在 .list-card 底下,因此我們可以透過 .list-card 來取得參賽者資料,這樣目標就滿明確的,因此這邊我直接貼上程式碼給你看最終呈現結果如何,但這邊我們還不會使用 fs 儲存檔案:
1
2
3
4
5
6
7
8
9
10
11
12
13
14
15
16
17
18
19
20
21
22
23
24
25
26
27
28
29
30
31
32
33
34
35
36
37
38
39
|
const cheerio = require('cheerio');
const getData = async (url) => {
try {
const response = await fetch(url);
const data = await response.text();
return data;
} catch (error) {
console.log(error);
}
}
const crawler = async () => {
const html = await getData('https://ithelp.ithome.com.tw/2022ironman/signup/list');
const $ = cheerio.load(html);
const listCard = $('.list-card');
const data = [];
listCard.each((index, element) => {
const name = $(element).find('.contestants-list__name').text();
const category = $(element).find('.tag span').text();
const title = $(element).find('.contestants-list__title').text();
const url = $(element).find('.contestants-list__title').attr('href');
data.push({
name,
category,
title,
url,
});
});
console.log(data);
}
crawler();
|
當你執行後,你應該就可以取得「第一頁」參賽者的資料。
有分頁的資料該怎麼辦?
另一個問題發生了,鐵人賽頁面上的網址是有分頁的,因此我們要怎麼處理呢?
透過我們剛剛請求回來的 HTML 中,有以下這個片段
1
2
3
4
5
6
7
8
9
10
11
12
13
14
15
16
17
18
19
20
21
22
23
24
25
26
27
28
29
30
31
32
33
34
35
36
| <nav class="pagination-container">
<div class="pagination justify-content-center">
<a class="pagination-newer disabled"><span><svg class="svg-inline--fa fa-caret-left fa-w-6" aria-hidden="true"
focusable="false" data-prefix="fas" data-icon="caret-left" role="img" xmlns="http://www.w3.org/2000/svg"
viewBox="0 0 192 512" data-fa-i2svg="">
<path fill="currentColor"
d="M192 127.338v257.324c0 17.818-21.543 26.741-34.142 14.142L29.196 270.142c-7.81-7.81-7.81-20.474 0-28.284l128.662-128.662c12.599-12.6 34.142-3.676 34.142 14.142z">
</path>
</svg></span></a>
<span class="pagination-inner">
<a class="active"><span>1</span></a>
<a href="https://ithelp.ithome.com.tw/2022ironman/signup/list?page=2">2</a>
<a href="https://ithelp.ithome.com.tw/2022ironman/signup/list?page=3">3</a>
<a href="https://ithelp.ithome.com.tw/2022ironman/signup/list?page=4">4</a>
<a href="https://ithelp.ithome.com.tw/2022ironman/signup/list?page=5">5</a>
<a href="https://ithelp.ithome.com.tw/2022ironman/signup/list?page=6">6</a>
<a href="https://ithelp.ithome.com.tw/2022ironman/signup/list?page=7">7</a>
<a href="https://ithelp.ithome.com.tw/2022ironman/signup/list?page=8">8</a>
</span>
<span class="pagination-inner">
<a class="pagination-active"><span>...</span></a>
</span>
<span class="pagination-inner">
<a href="https://ithelp.ithome.com.tw/2022ironman/signup/list?page=55">55</a>
<a href="https://ithelp.ithome.com.tw/2022ironman/signup/list?page=56">56</a>
</span>
<a class="pagination-older" href="https://ithelp.ithome.com.tw/2022ironman/signup/list?page=2" rel="next">
<svg class="svg-inline--fa fa-caret-right fa-w-6" aria-hidden="true" focusable="false" data-prefix="fas"
data-icon="caret-right" role="img" xmlns="http://www.w3.org/2000/svg" viewBox="0 0 192 512" data-fa-i2svg="">
<path fill="currentColor"
d="M0 384.662V127.338c0-17.818 21.543-26.741 34.142-14.142l128.662 128.662c7.81 7.81 7.81 20.474 0 28.284L34.142 398.804C21.543 411.404 0 402.48 0 384.662z">
</path>
</svg>
</a>
</div>
</nav>
|
這我們可以看到最後一頁是 56,我們就可以透過這個數字來決定我們要撈幾頁,並且透過 for 迴圈來撈取每一頁的資料,這邊就讓我們來看程式碼吧?
雖然可能會有點複雜,但我會每一行都補上註解的,讓你比較好理解
1
2
3
4
5
6
7
8
9
10
11
12
13
14
15
16
17
18
19
20
21
22
23
24
25
26
27
28
29
30
31
32
33
34
35
36
37
38
39
40
41
42
43
44
45
46
47
48
49
50
51
52
53
54
55
56
57
58
59
60
61
62
63
64
65
66
67
| const fs = require('fs');
const cheerio = require('cheerio');
const getData = async (url) => {
try {
const response = await fetch(url);
const data = await response.text();
return data;
} catch (error) {
console.log(error);
}
}
const crawler = async () => {
const html = await getData('https://ithelp.ithome.com.tw/2022ironman/signup/list');
const $ = cheerio.load(html);
const paginationInner = $('span.pagination-inner > a').last();
const lastPage = Number(paginationInner.text());
const data = [];
for(let i = 1; i <= lastPage; i++) {
console.log(`正在爬取第 ${i} 頁`);
const html = await getData(`https://ithelp.ithome.com.tw/2022ironman/signup/list?page=${i}`);
const $ = cheerio.load(html);
const listCard = $('.list-card');
listCard.each((index, element) => {
const name = $(element).find('.contestants-list__name').text();
const category = $(element).find('.tag span').text();
const title = $(element).find('.contestants-list__title').text();
const url = $(element).find('.contestants-list__title').attr('href');
data.push({
name,
category,
title,
url,
});
});
await new Promise((resolve) => {
setTimeout(() => {
resolve();
}, 5000);
})
}
fs.writeFileSync('./data.json', JSON.stringify(data));
}
crawler();
|
基本上你執行這一段程式碼後,你就可以撈出全部參賽者的資料了~
Note
你可以發現我有寫一個「避免過度請求增加伺服器負擔」的程式碼,主要是為了避免過度請求,造成伺服器負擔過重,因此我們可以透過 setTimeout 來設定每 5 秒跑一次,這樣就可以避免過度請求了。
我發現這一篇好像拉得有點長了,所以我打算這一篇就先到這些就好,我們下一篇再來說明該如何取得文章的瀏覽人數、Like 人數、留言人數吧!
 |
|
 |
|