Google Extension 與 Vite 前言 前一篇我們對於 Google Extension 有了初步的認識,但我們實際開發上來講,必定會使用到人家開發好的套件,所以這一篇就會來使用 Vite 來開發 Google Extension。
專案準備 一開始我們先來準備一下專案,首先我們會使用 vite 來建立的關係,因此 Vite 會預設一些 template 給我們使用,所以你可能會這樣輸入指令…
1 npm create vite@latest example-chrome-extension-vite -- --template vue
或者使用
底下我也提供我的選項給你參考
1
2
3
4
❯ npm create vite@latest
接下來問題來了,Vite 本身沒有提供支援 Google Extension 的功能,所以我們使用其他套件來幫我們完成這件事情,所以請你輸入以下指令安裝 CRXJS Vite Plugin
(請務必確保你目錄已經進入在 example-chrome-extension-vite)
1 npm i @crxjs/vite-plugin@beta -D
Note
接著打開 vite.config.js,並且輸入以下程式碼
1
2
3
4
5
6
7
8
9
10
11
12
13
import { defineConfig } from 'vite' import vue from '@vitejs/plugin-vue' import { crx } from '@crxjs/vite-plugin' import manifest from './manifest.json' export default defineConfig ({plugins : [vue (),crx ({ manifest }),
接著在根目錄下建立 manifest.json,並且輸入以下程式碼
1
2
3
4
5
6
7
8
9
{ "manifest_version" : 3 , "name" : "Hello Vite + Vue + Chrome Extensions" , "description" : "Base Level Extension" , "version" : "1.0" , "action" : { "default_popup" : "index.html" } }
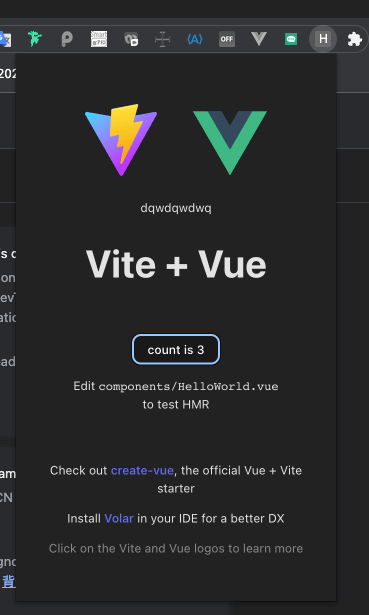
然後你就可以在終端機輸入 npm run dev,你應該會看到 vite 產出了一個 dist 資料夾,接著請你到瀏覽器輸入 chrome://extensions/,並且載入 dist 後你就可以看到一個基本的 Chrome Extension 了
Vue Chrome Extension
Note npm run dev 將該套件重新引入就會恢復正常了。
那麼我們目前結構是這樣
1
2
3
4
5
6
7
8
9
10
11
- .vscode
串接 OpenAI 前面我們準備好基本環境之後,接下來就是要來實際整合一個 API 來看看,這邊我們會使用 OpenAI 來做示範,這邊我們就來實際串接看看。
在開始往下之前,由於 OpenAI 要使用必須要先申請一組 API Key,所以請你先到 OpenAI 申請一組 API Key,申請完後請你到 Dashboard 複製你的 API Key。
Note 用 Node.js 建立你的第一個 LINE Bot 聊天機器人以 OpenAI GPT-3 與 GPT-3.5 為例 的前置動作章節。
接下來就是安裝 OpenAI 的套件,請你在終端機輸入以下指令
然後你打開 src/App.vue 並貼入以下程式碼
1
2
3
4
5
6
7
8
9
10
11
12
13
14
15
16
17
18
19
20
21
22
23
<script setup>
基本上這樣你就可以在擴充套件中看到回傳結果了。
(請不要忘記將 OPENAI_API_KEY 替換成你的 API Key)
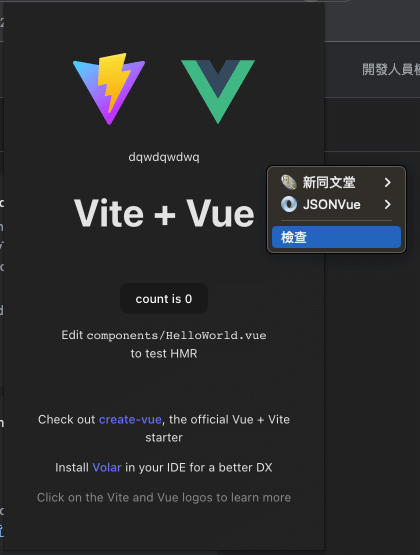
那我們該如何查看擴充套件的回傳結果呢?只需要點開擴充套件,並點一下「右鍵」,然後點選「檢查」,接著就會跳出你熟悉的開發者工具
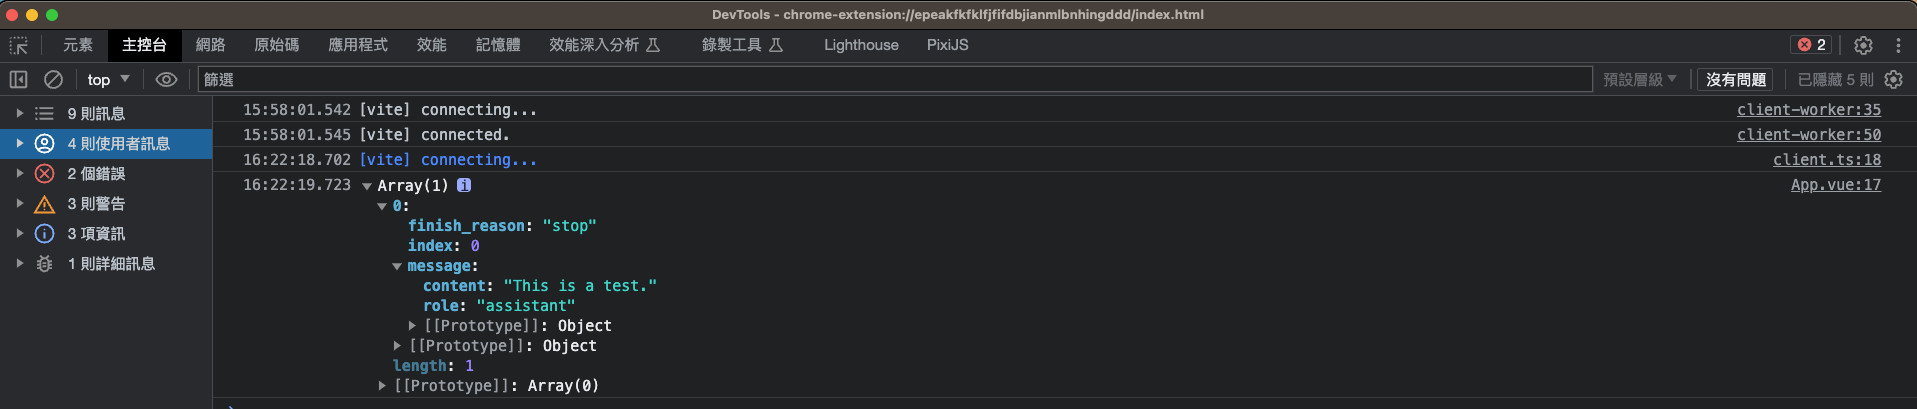
devTools 然後你點選「Console」就可以看到回傳結果囉!
devTools Console 這邊有件事情要特別提醒一下,OpenAI 的套件本身是建議在 Node.js 環境下使用,因此如果你在瀏覽器中使用,會出現以下錯誤
1
2
3
4
5
6
7
Uncaught Error: It looks like you're running in a browser-like environment. This is disabled by default, as it risks exposing your secret API credentials to attackers. If you understand the risks and have appropriate mitigations in place, you can set the `dangerouslyAllowBrowser` option to `true`, e.g., new OpenAI({ apiKey, dangerouslyAllowBrowser: true });
因此如果你要在瀏覽器中使用,請你將 dangerouslyAllowBrowser 設定為 true,就可以解決了
1
2
3
4
const openai = new OpenAI ({apiKey : 'OPENAI_API_KEY' ,dangerouslyAllowBrowser : true ,
因此比較好的做法是透過後端來開一個 API 來取得 OpenAI 的回傳結果,這樣就比較不會有安全性的問題,但我們這邊僅是為了示範,所以就不做這個部分了,但你可以嘗試看看。
預設 API Key 那麼目前有一個問題會發生,我們的 OPENAI_API_KEY 當前是直接寫死在程式碼中,可是如果我們今天想把這個擴充套件分享給別人,那麼這個 API Key 就會被公開,這樣就會有安全性的問題。
所以這邊我們就要來介紹另一個東西,也就是歡迎頁面,你應該有遇過安裝完畢後,會跳出一個歡迎頁面,這個頁面就是我們要介紹的東西。
首先我們要先建立一個 public/default.html,而 HTML 內容很簡單,我們要先讓使用者安裝該擴充套件並使用之前,先輸入它的 OpenAI Key
1
2
3
4
5
6
7
8
9
10
11
12
13
<!DOCTYPE html > <html > <head > <title > Extension Settings</title > </head > <body > <h1 > Extension Settings</h1 > <label for ="token" > Enter Token:</label > <input type ="text" id ="token" > <button id ="save" > Save</button > <script src ="default.js" > </script > </body > </html >
接著我們要建立 public/default.js,並且輸入以下程式碼
1 2 3 4 5 6 7 8 9 10 11 12 13 14 15 16 17 18 19 20 21 const $ = (selector ) => document .querySelector (selector);document .addEventListener ('DOMContentLoaded' , () => {const token = $('#token' );const save = $('#save' );addEventListener ('click' , () => {storage .sync .set ({openai_token : token.value window .close ();
接著我們要在安裝套件時,跳出這個頁面,所以你要先建立一個 public/background.js,並且輸入以下程式碼
1 2 3 4 5 6 7 8 9 10 11 12 runtime .onInstalled .addListener (function (storage .local .set ({openaiToken : '' tabs .create ({url : 'default.html'
接著我們要在 manifest.json 中加入以下程式碼
1
2
3
4
5
6
7
8
9
10
11
12
13
14
15
16
17
18
19
20
{ "manifest_version" : 3 , "name" : "Hello Vite + Vue + Chrome Extensions" , "description" : "Base Level Extension" , "version" : "1.0" , "permissions" : [ "storage" ] , "action" : { "default_popup" : "index.html" } , "options_page" : "default.html" , "background" : { "service_worker" : "background.js" } }
接著最後改一下 src/App.vue
1
2
3
4
5
6
7
8
9
10
11
12
13
14
15
16
17
18
19
20
21
22
23
24
25
26
27
28
29
30
31
32
33
34
35
36
37
38
39
40
41
<script setup>
接下來,你只需要一樣輸入 npm run dev,然後載入 dist,你就會看到一個歡迎頁面了,接著你輸入你的 OpenAI Key,並且點擊「Save」,接著你點一下瀏覽器右上角的擴充套件圖示,然後再點一下「右鍵」與「檢查」,你就會看到 OpenAI 已經可以正常運作囉~
那麼雖然目前 UI 有點醜,如果你想要現成的 UI 的話,你可以參考我先前寫的小範例:
你可以嘗試把這個模板引入使用,這樣你就可以快速開發一個聊天室囉!
那麼這一篇也差不多了,算是簡單帶到 Chrome Extension 的開發,如果你想要更深入的了解,可以參考 Chrome Extension 官方文件 ,我們下一篇見。

 |
|
 |
|